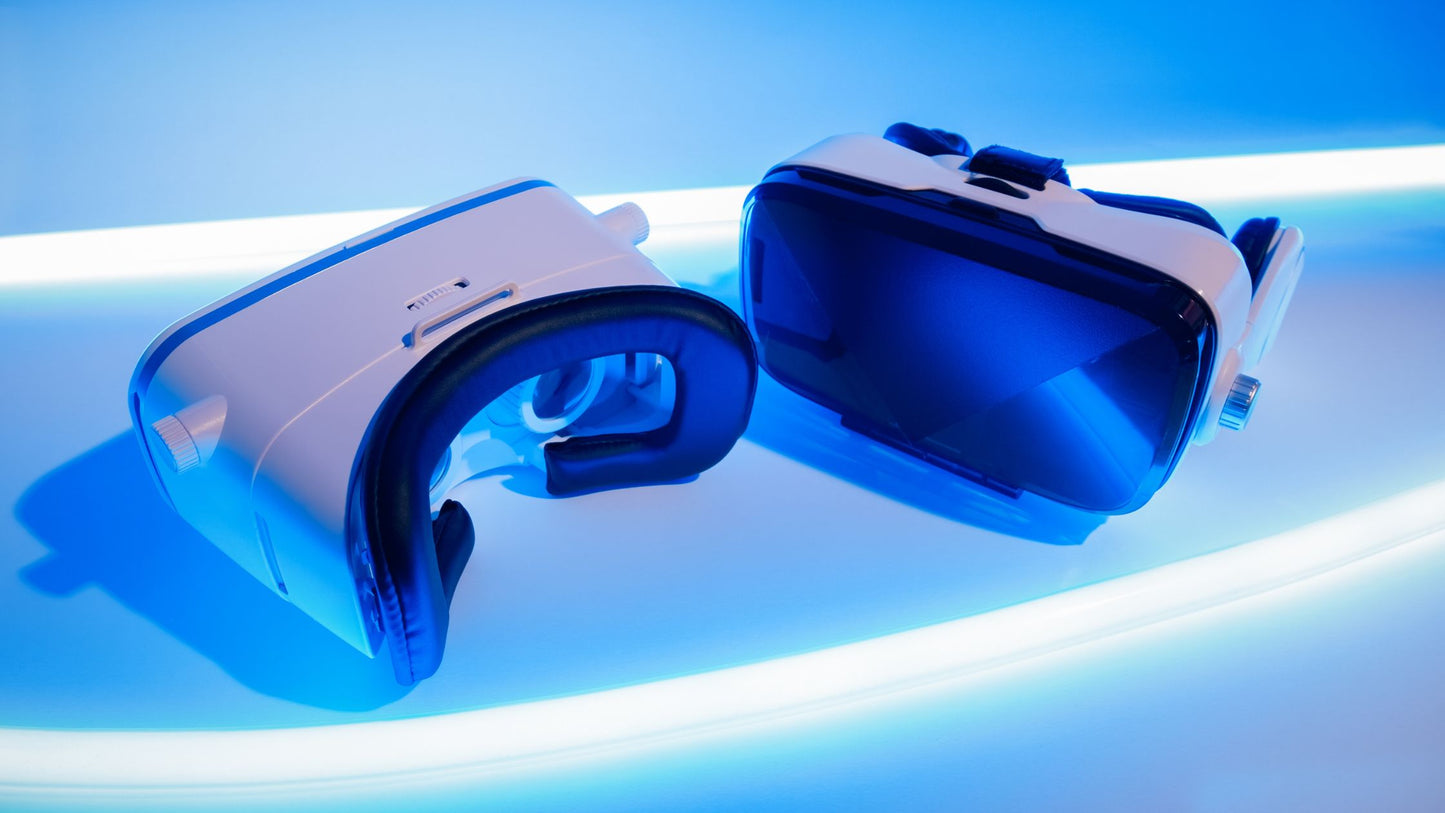
Diving into virtual reality (VR) should be magical. Whether you're roaming through epic landscapes or going head-to-head with virtual adversaries, the last thing you want is a dirty headset pulling you back to reality. Dust, fingerprints, and those annoying smudges can build up on your VR device's lenses and body, messing with the visual sharpness and overall comfort. The good news? Keeping your VR headset in tip-top shape is simpler than you might expect. With a few key tools and the right approach, you can ensure your gateway to virtual worlds remains as immersive and clear as the day you got it.
To clean a VR headset: power off and unplug, remove any accessories, lightly dust with a microfiber, clean the lens with a wipe or plastic cleaner, surface clean the outer shell, allow it to dry, and reassemble as needed.
Essential Cleaning Tools
To effectively clean your VR headset, you'll need a few basic tools:
- Microfiber Towels: These soft, lint-free cloths are perfect for gently wiping away dust and smudges without scratching the lenses or surfaces of your VR headset.
- Invisible Glass Lens Wipes: Specifically designed for cleaning glass surfaces, these wipes are safe to use on the lenses of your VR headset. They leave behind no residue, ensuring a streak-free finish for optimal visual clarity.
- Clear Plastic Cleaner: If your VR headset features plastic components, such as the outer shell or controllers, a clear plastic cleaner can help remove stubborn stains and fingerprints while providing a protective layer against future smudges.
With these tools, you'll be well-equipped to tackle even the toughest cleaning challenges.
Step-by-Step Cleaning Process
Now, let's dive into the step-by-step process of cleaning your VR headset:
Power Off and Unplug
Before you begin cleaning, make sure your VR headset is powered off and unplugged from any power sources. This precaution prevents accidental damage to the device and ensures your safety during the cleaning process.
Remove any Accessories
If your VR headset is equipped with removable features like face cushions or earphones, it's wise to gently detach them before diving into your cleaning routine. Doing so simplifies the cleaning process and ensures you can reach and effectively clean every nook and cranny so all the visible and hidden surfaces get the thorough cleaning they deserve.
Lightly Dust with a Microfiber
Using a microfiber towel, gently wipe away any visible dust or debris from the lenses and surfaces of your VR headset. Start from the top and work your way down, ensuring you cover all areas evenly. Avoid applying excessive pressure to prevent scratching the lenses.
Clean the Lens with a Wipe or Plastic Cleaner
Moving on to the lenses, the windows to your virtual adventures, it’s crucial to pick a cleaner safe for delicate plastics. Harsh chemicals can damage lens surfaces, so opt for a solution designed for safety.
A fantastic choice for this task is a lens wipe from Invisible Glass, ideal for VR headsets. These wipes are engineered to tackle fingerprints, smudges, and other residues, ensuring a streak-free finish without harming the lens material. Gently use circular motions to clean the inside and outside of the lenses, enhancing your VR experience with unparalleled clarity.
Surface Clean the Outer Shell
For plastic surfaces such as the outer shell and controllers, spray a small amount of clear plastic cleaner onto a microfiber towel. Wipe the surfaces thoroughly to remove any stains or fingerprints, ensuring a clean and shiny finish.
Allow Time to Dry
After you've given your VR headset a thorough clean, it’s crucial to let it air dry for a short while. This pause ensures that any remnants of cleaning products have fully evaporated, leaving nothing but cleanliness behind. It's tempting to speed up the process with a hairdryer or similar heat source but resist the urge. The excessive heat can be harmful, potentially damaging the sensitive parts of your VR device. A little patience here can go a long way in preserving the integrity and functionality of your headset, ensuring it’s ready for your next virtual adventure without any hiccups.
Reassemble as Needed
Once the cleaning process is complete and your VR headset is dry, reassemble any detachable accessories removed earlier. Ensure everything is securely attached before powering on your device for the next virtual adventure.
Additional Tips for Maintenance
To keep your VR headset looking great between cleanings, try these simple maintenance tips:
| Do THIS: | Here’s Why: |
|---|---|
| ✓ Store your VR headset in a clean, dust-free environment when not in use. | Proper storage minimizes the accumulation of dirt and debris. |
| ✓ Avoid touching lenses with your fingers. | Oils and residues from your skin can transfer onto the lens surface, requiring more frequent cleaning. |
| ✓ Use a protective carrying case when transporting your VR headset. | A protective case prevents scratches and damage during travel. |
| ✓ Regularly inspect your headset for any signs of wear or damage. | If you notice issues such as loose cables or cracked components, you can address them promptly to prevent further issues. |
Level Up Your VR Game with a Spotless Headset
Keeping your VR headset clean isn't just about hygiene; it's a game-changer for virtual reality adventures. You can keep your gear in top-notch shape with the right approach—using trusty microfiber cloths, Invisible Glass lens wipes for streak-free clarity, and safe plastic cleaners. Regular cleaning and smart upkeep aren't just chores; they're your ticket to uninterrupted, immersive experiences in your favorite virtual worlds. Stick to these steps, and you're all set for endless, crystal-clear VR journeys.